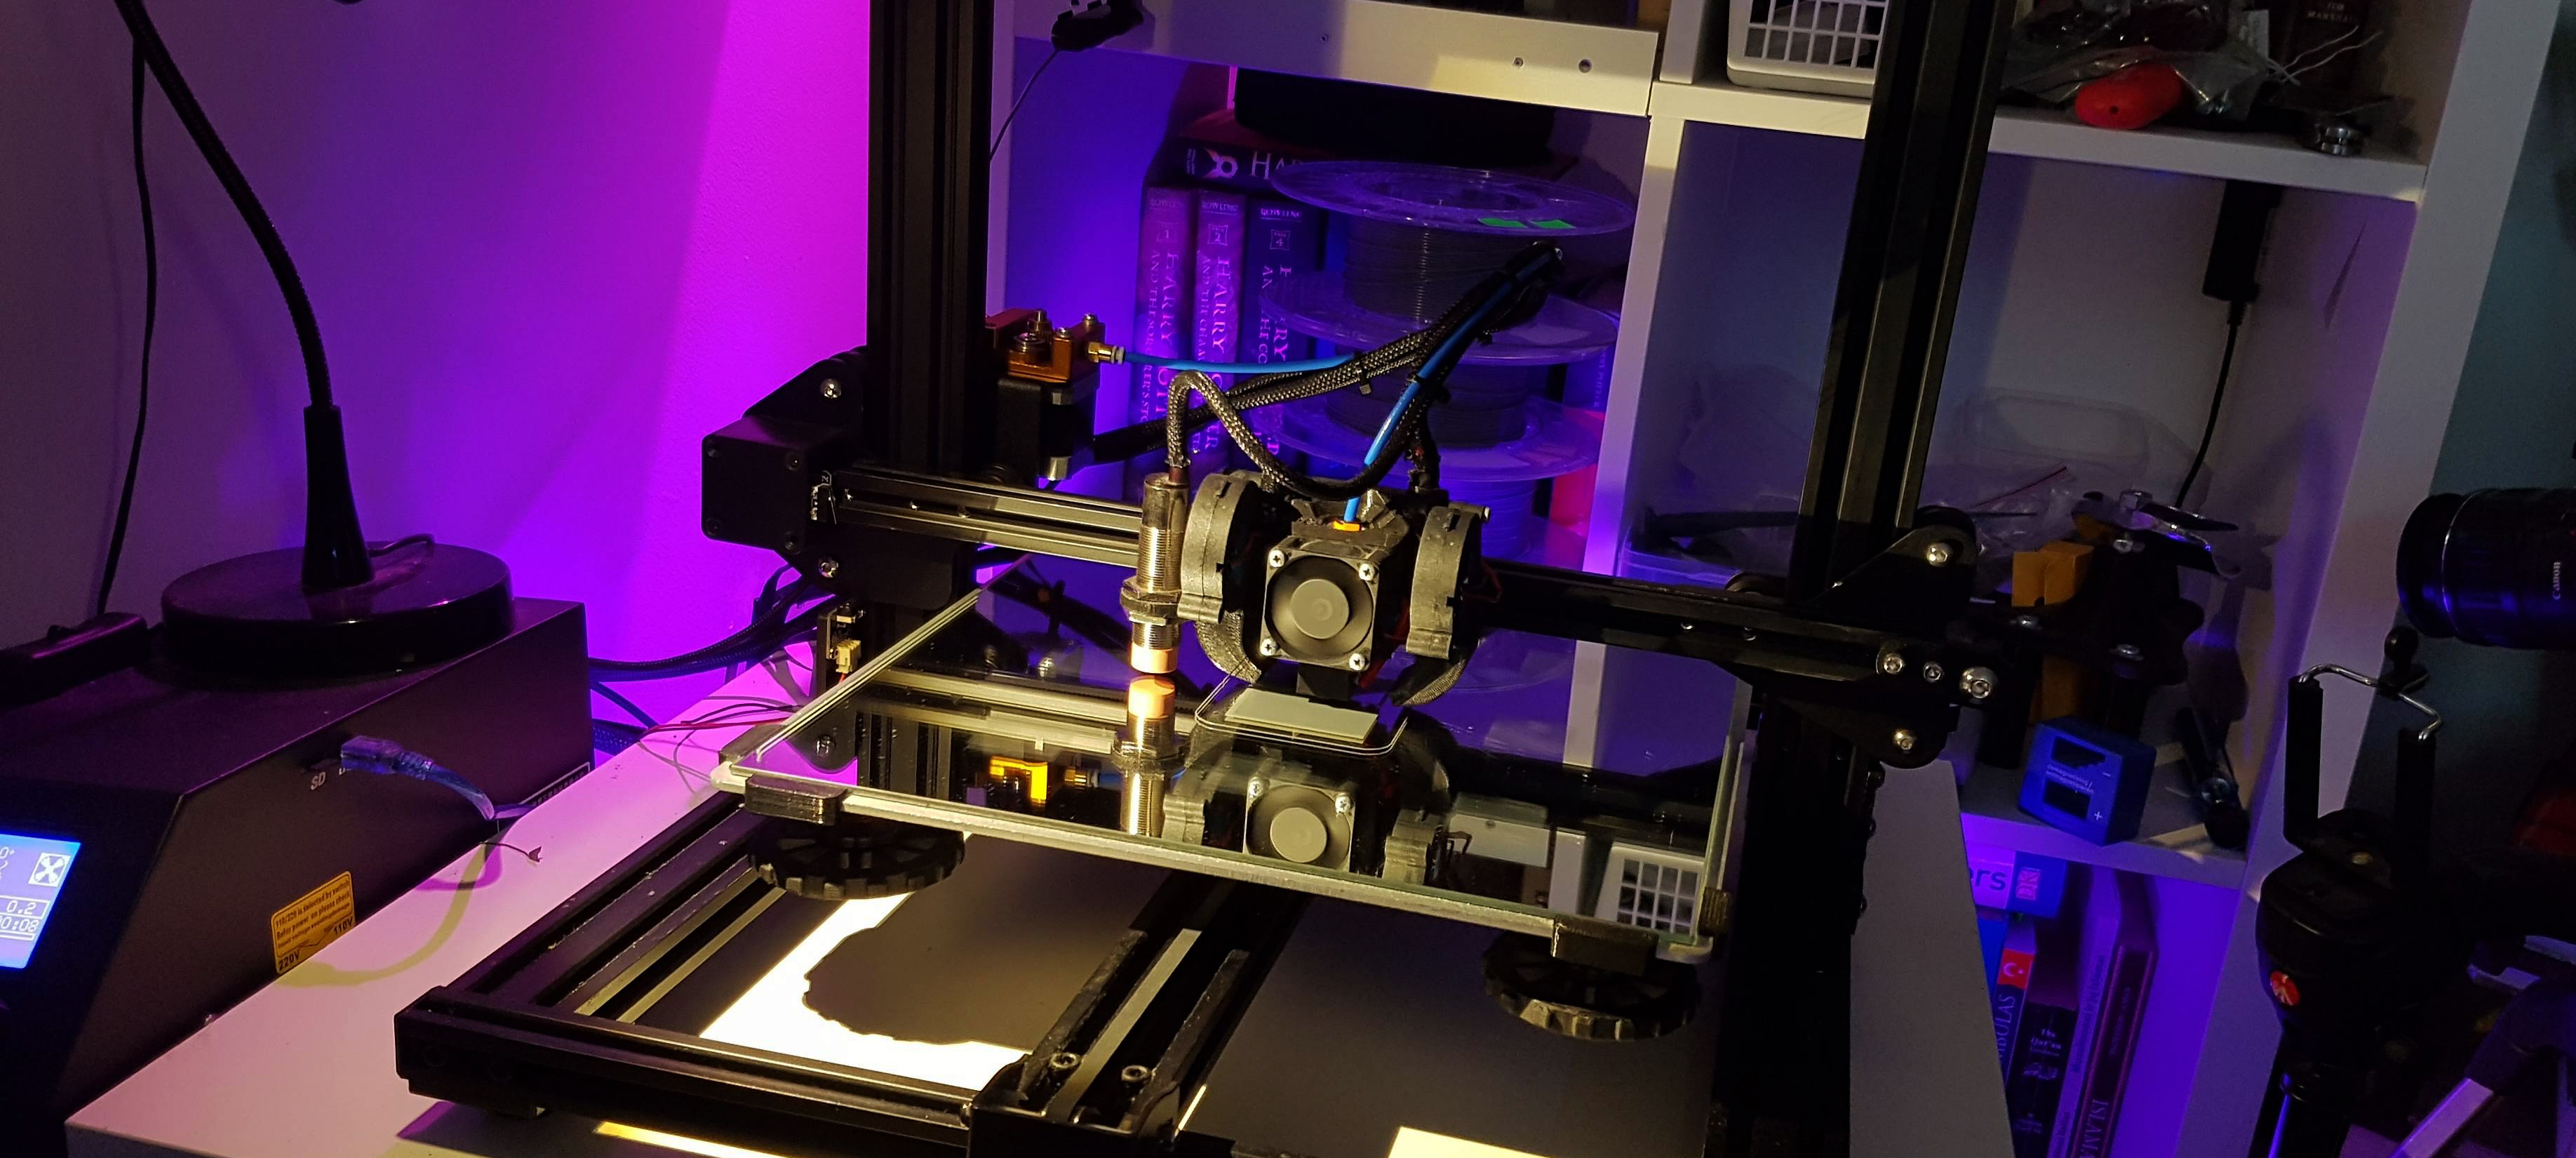
Leveling the X gantry
August 21, 2019
What a headache and a half it is if you're using an ABL sensor and cannot for the life of you figure out why your readings are way off, you might be rethinking every decision you made in your life up to this point. It's possible that your neighbor is sneaking into your home and messing up your attempts at leveling your printers bed. However it's well within the realm of possibility that it could also be that your X gantry isn't level to the frame of your printer. And yes, machinists, I know the proper term is trammed, but then why are you here? You already know how to do all of this, so shoo. Shoo.
The X gantry can be out of level to a degree and not give you any problems if you level your bed manually or use mesh bed leveling, specifically mesh leveling can compensate fairly well for an out of whack gantry, however all ABL sensors rely on the X gantry to be perfectly level to the frame in order for them to work, otherwise the readings will make as much sense as that same neighbor drilling something yet again at 8am on a Saturday.
First of all make some coffee as this takes a while. Only then can you take off the lead screw, if you have dual lead screws - take both of them off. Go over your printer with a square and make sure all brackets holding the X gantry to the frame are square, straight and not bent. If you don't have a square, borrow one from your neighbor as you need it more then he does right now. My culprit was a nicely bent bracket. I took it apart and beat the life out of it with a hammer releasing my built up frustration. Eventually after hammering it back and forth I got it straight enough.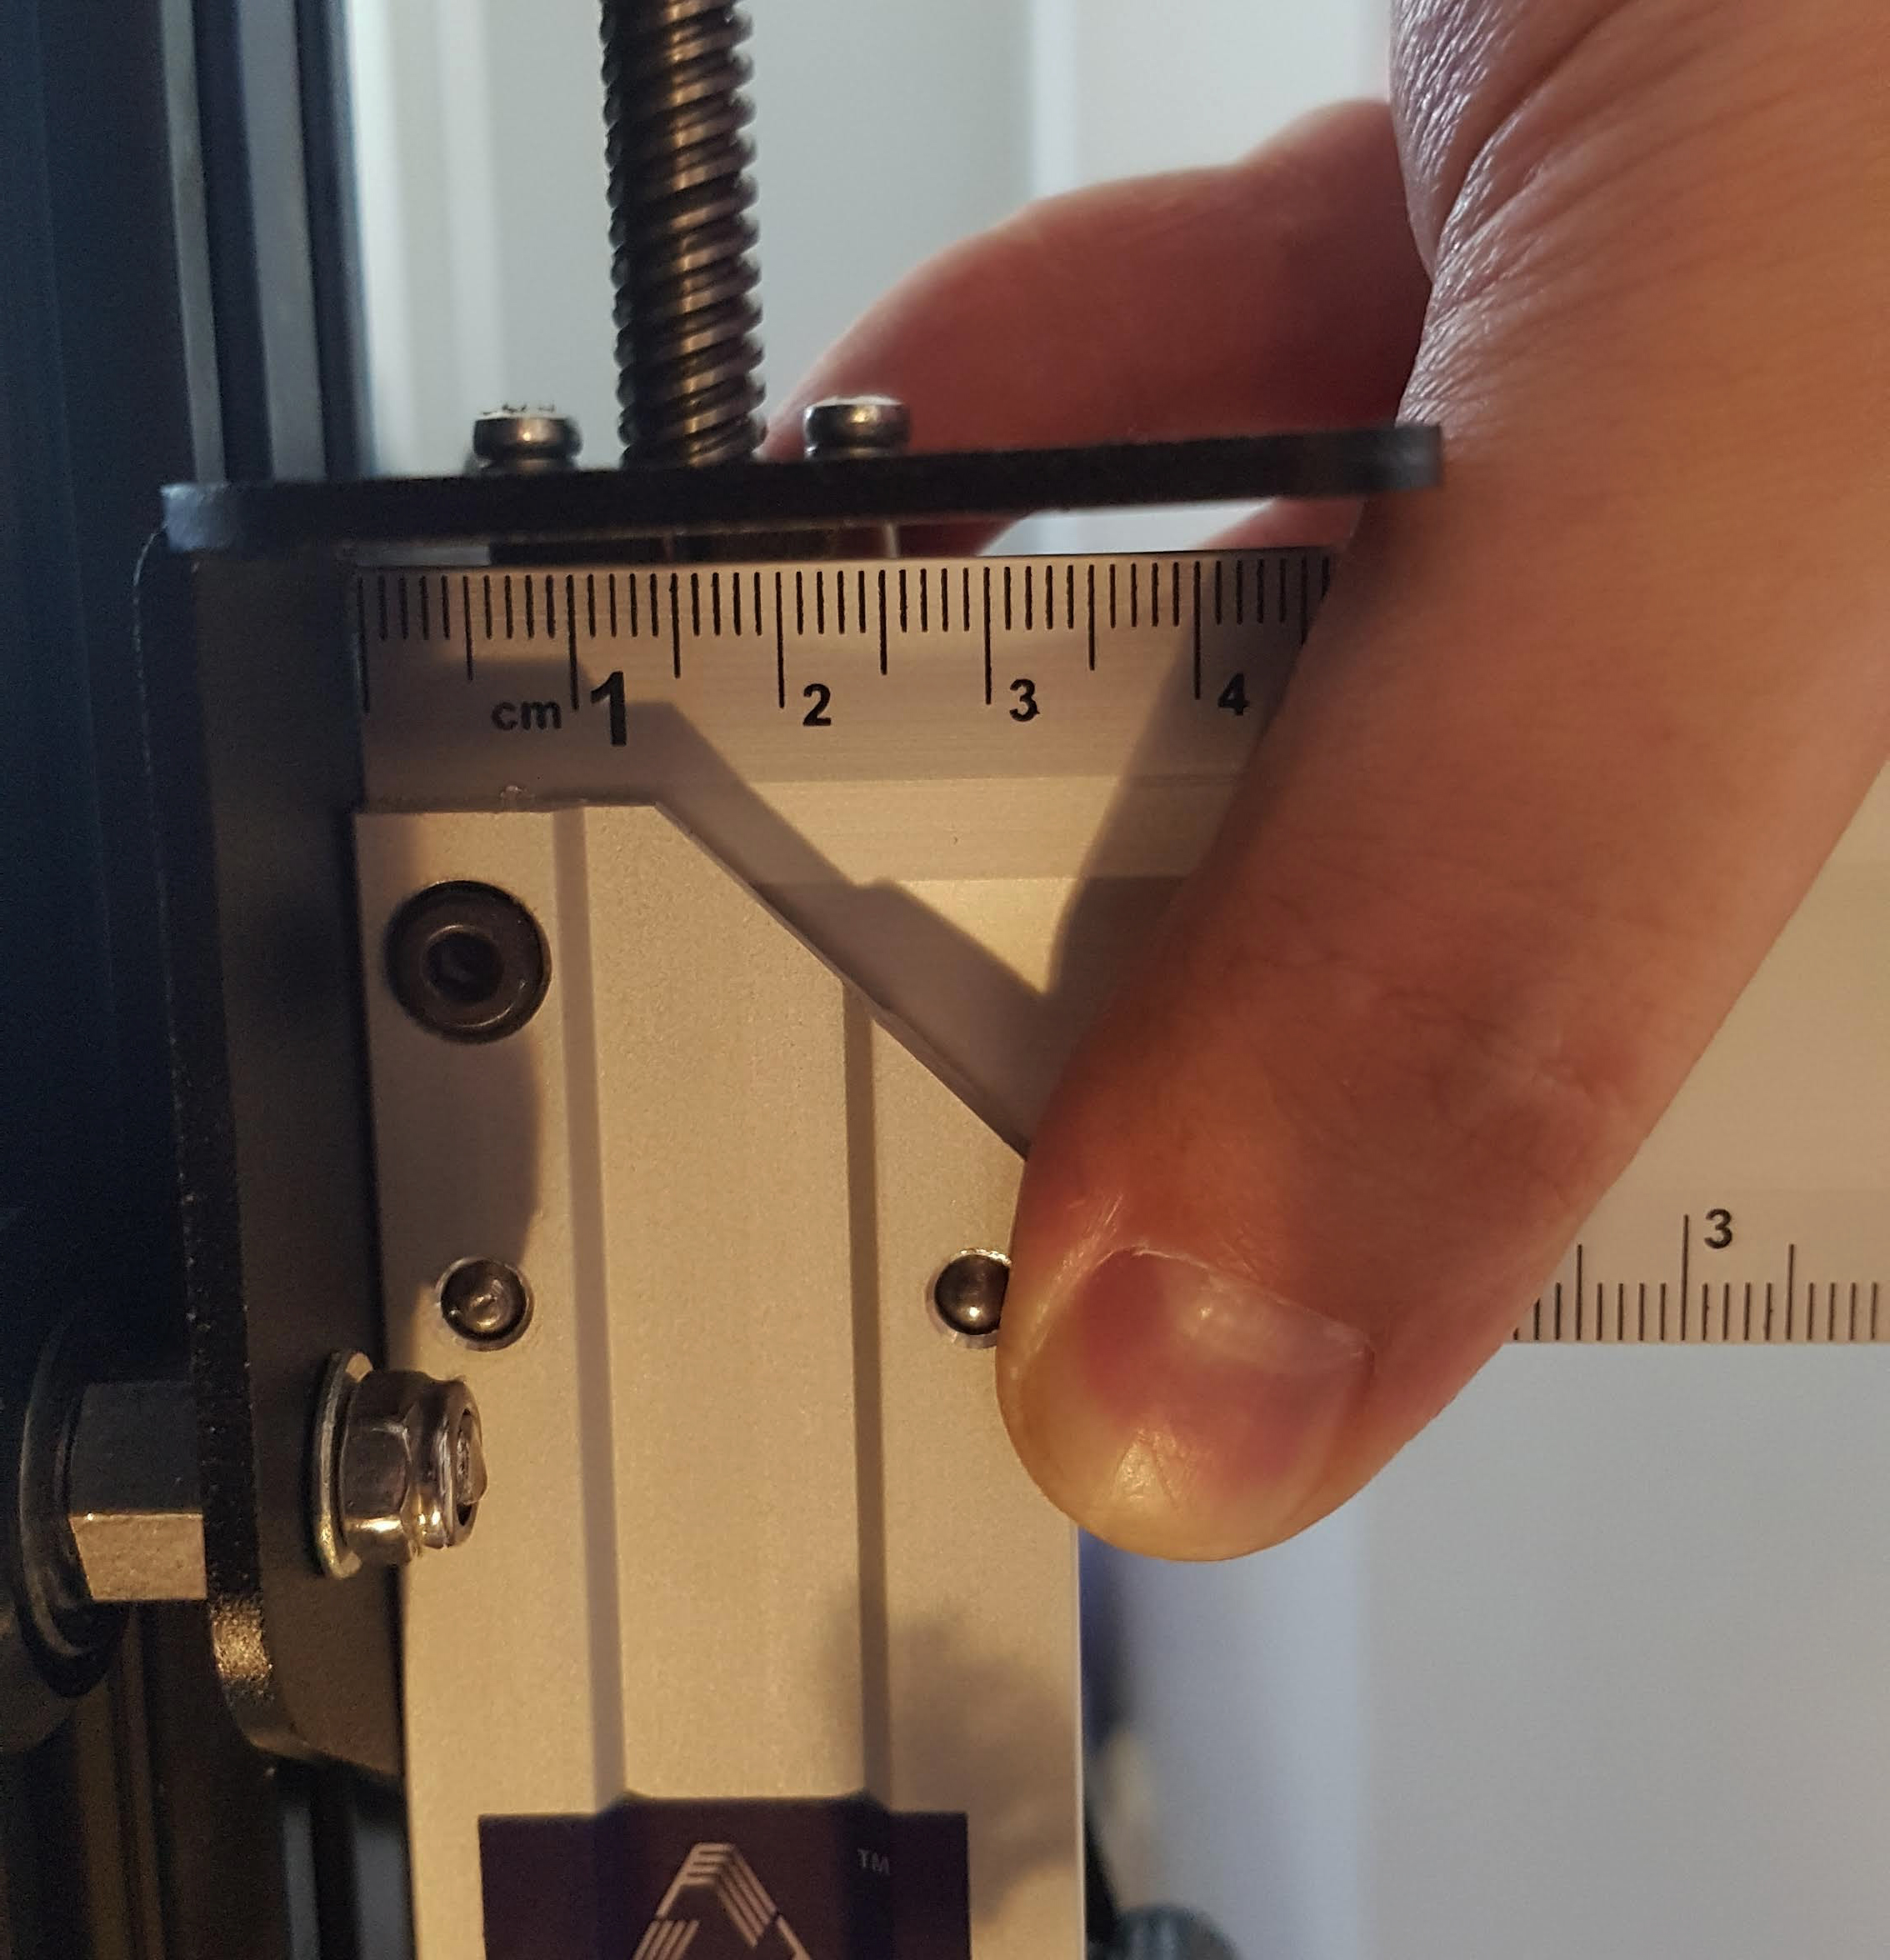

If the brackets aren't bent and your frame is square,
it might just be that the rods weren't properly put in, either way, time to check the rod alignments and put them back in. This is also a great time to check if the rods themselves are straight, they could be pre-bent for your pleasure. Just place them down on a straight and level surface (your floor works really well for this, usually) and roll them round round baby round... If they roll straight - they're good, otherwise, well you need new rods. Hopefully they're straight and we can continue.
Raise the X gantry all the way as far as it can go and securely tie it against the top of the frame using wire, string, zip ties or the hair you lost since getting your 3D printer and insert the rod(s) one at a time all the way down but not touching the motor shaft(s). You want the end of the rod hovering just a bit over the motor shaft. What you're looking for is proper alignment with the motor shaft, the rod should naturally hover straight above the shaft. If that isn't the case, go over the entire frame and brackets yet again to double triple quadruple check if they're straight.

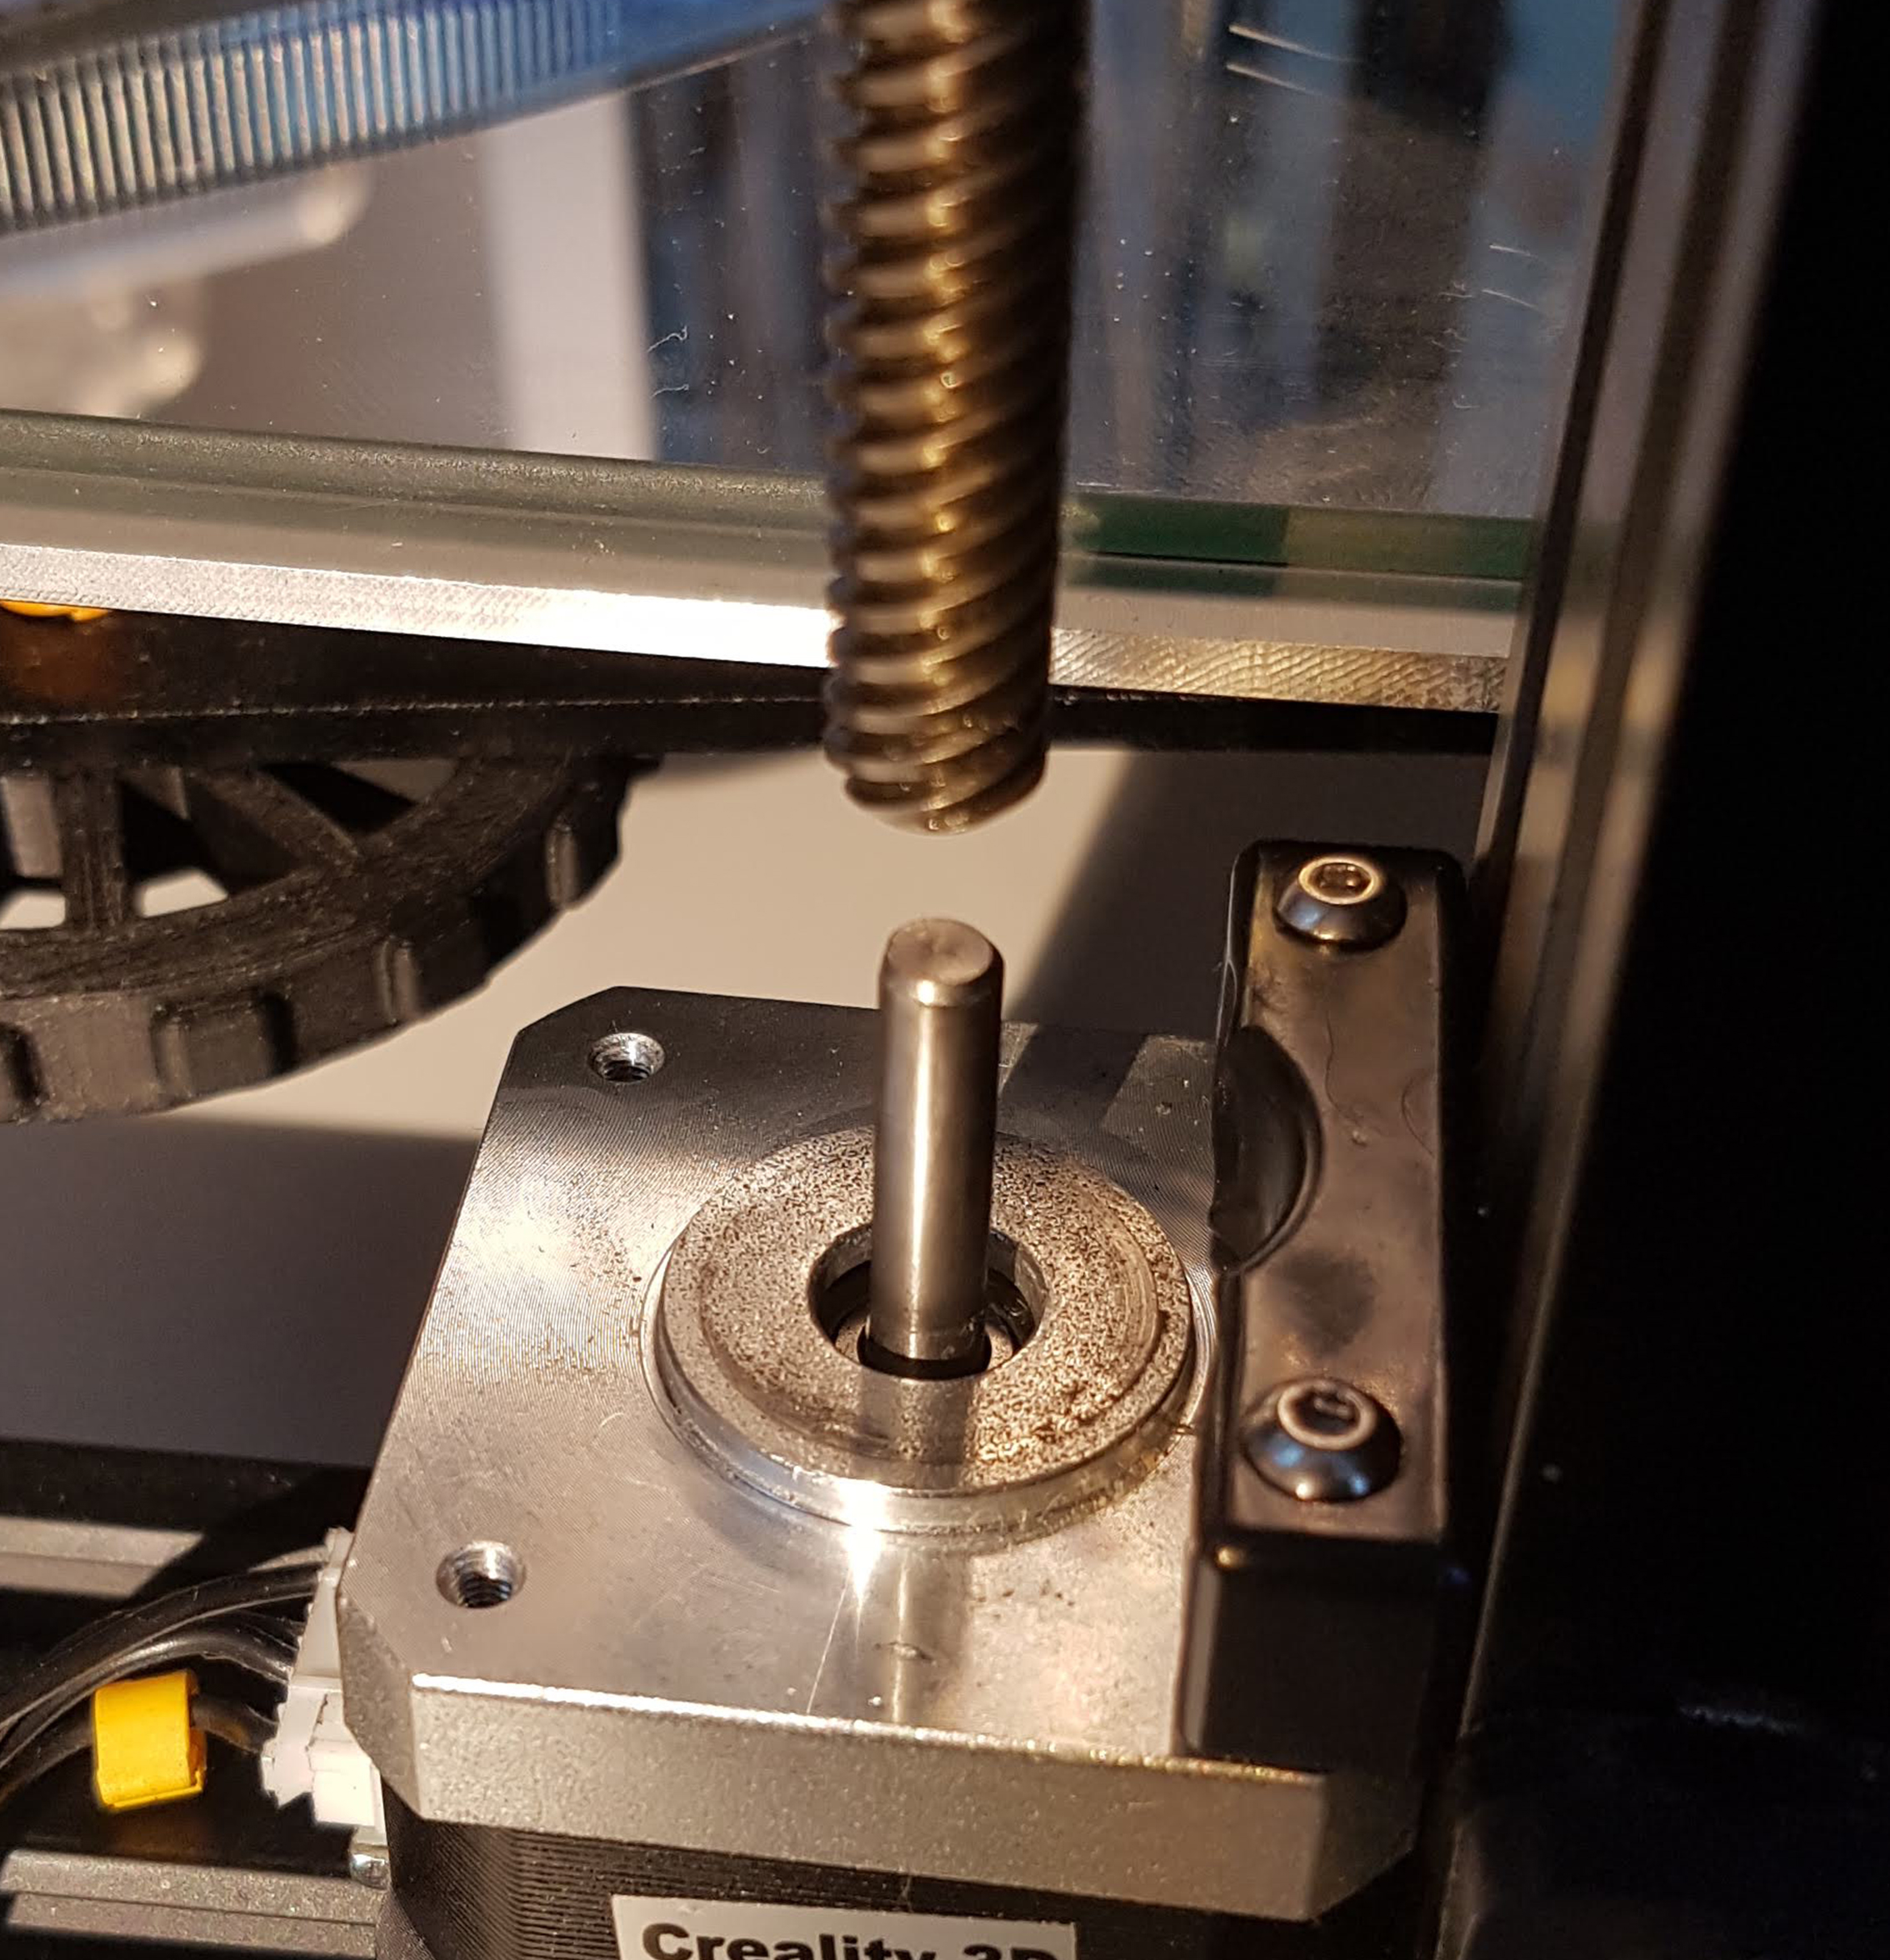
The other culprit could be the bearing at the top of your Z axis if there is one. There is a slot for the bearing to move in the Y direction and sometimes it sits in a not so great spot, try moving it forward or back to get the rod into proper alignment with the motor shaft. You can use something like a bit of electrical tape to shim the bearing, that will also help with the amazingly graceful rattling noise the rods like to make.
With that out of the way, make sure the t-nuts are tightened down. You'll find people suggesting to loosen them to prevent binding. They are wrong. Loosening the t-nuts allows more play for the rods which does result in less binding, however it doesn't fix alignment problems and might result in future gantry alignment issues like the one you're probably having now. Without an ABL sensor those problems might not be that apparent, but with ABL sensors a misalignment of the X gantry just 0.1mm is enough to have an impact on your first layer.
Now you can slowly start lowering down the X gantry, be aware it can fall down, wreck the printer and ruin your day so make sure you're supporting it. Keep an eye on the rods and their alignment to the motor shafts, at no point should they move out of alignment. If they do move - start reading again from the top. If they stay in position, you can put the couplers back on. The X gantry is still not supported by the printer so either tie it back down to the top of the frame, or put some blocks underneath the gantry to prevent the nozzle from resting on the bed. Put the coupler on the motor shaft and then raise it by just a little bit, a millimeter or two so it's not bottoming out and then tighten it down. Do the same with the rod(s).
After reassembling now you need to make sure there is no binding. With the motors turned off, turn the coupler to lower/raise the gantry. If you have two lead screws - turn both couplers at the same time and the same speed. If you feel binding or any resistance, make sure the lead screws are sufficiently lubricated, if that still doesn't help - well you know the drill by now, read from the top.
Tighten the eccentric nuts holding the gantry to the frame to a point where you have to push the gantry down fairly hard to get it to budge with the motors turned on. Now, too tight - the motors will struggle to lift the gantry and might result in bad prints and more issues, too loose - the gantry might drop a bit after the motors are turned off, a few of those and you're back again dealing with the gantry not level. General rule of thumb - tighten the eccentric nuts so that they don't spin by just rotating them with your fingers - they shouldn't move in place or move the gantry, unlike the Y axis where you want the bed to freely move when rotating the rollers by hand.
 If you followed all of the steps and my instructions, you should now have no lead screw binding, the gantry should stay level and it should not drop after the motors are turned off. I'd also recommend getting calipers to properly level the gantry to the frame. You'll quickly find out with proper measurement tools that even the slightest difference between both sides of the gantry will impact your first layer. Alignment blocks or a ruler tape on the frame can help get a rough alignment in, but I'd strongly suggest digital calipers, even the cheap ones like the one I'm using are good enough for our purposes and will make your life much easier.